
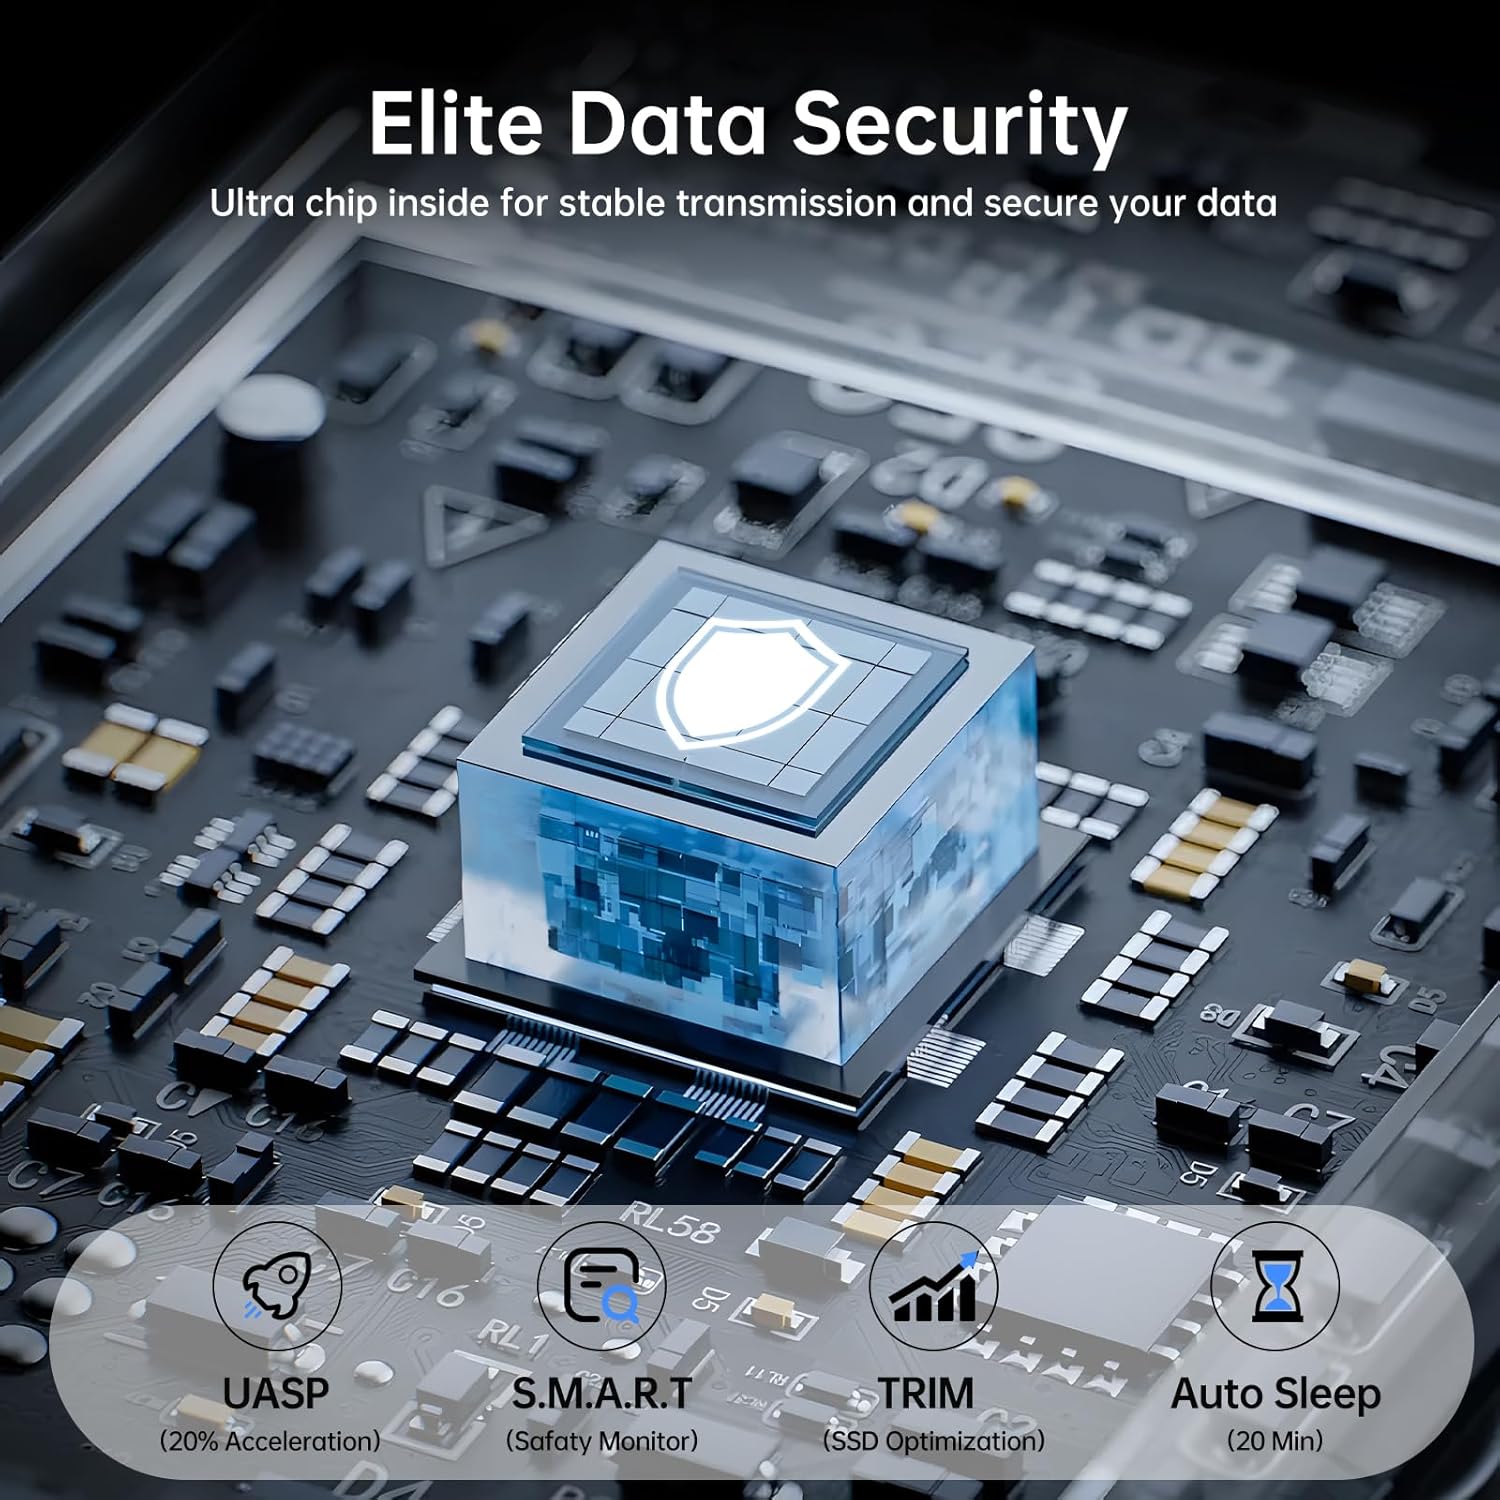

Upgrading your computer’s storage is one of the best ways to boost performance, especially when moving from an older SATA3 PCIe M.2 2280 SSD to a blazing-fast NVMe v4 drive. However, the thought of migrating data from one drive to another can feel daunting—nobody wants to risk losing important files or spend hours reinstalling everything from scratch. Fortunately, using an enclosure offers a simple, efficient, and safe way to transfer your data to your new NVMe v4 drive, already installed in your brand-new computer, without skipping a beat. Here’s why this method is a game-changer and how it can benefit you.
- Seamless Data Migration Without Data Loss
The biggest advantage of using an enclosure is that it allows you to clone your old SATA3 M.2 SSD directly onto your new NVMe v4 drive without losing a single byte of data. By connecting your old drive externally via a USB enclosure, you can use cloning software (like Acronis True Image, Clonezilla, or Macrium Reflect) to create an exact replica of your old drive—operating system, applications, settings, and all. This means you won’t need to reinstall Windows, reconfigure your software, or hunt for lost files. Your new NVMe v4 drive will boot up as if nothing changed, except now it’s running on faster hardware. - No Need for Internal Disassembly
Modern brand computers—like those from Dell, HP, or Lenovo—often come with the NVMe v4 drive pre-installed. While that’s great for performance, it can make accessing your old SATA3 M.2 SSD tricky if your system lacks an extra M.2 slot. An enclosure eliminates the need to crack open your new machine or fiddle with internal hardware. Simply pop your old SATA3 PCIe M.2 2280 SSD into a compatible enclosure, plug it into a USB port on your new computer, and you’re ready to start the migration process. It’s a plug-and-play solution that keeps things stress-free. - Speed and Convenience
NVMe v4 drives are significantly faster than SATA3 SSDs, boasting read/write speeds that can exceed 7000 MB/s compared to SATA3’s cap of around 600 MB/s. However, the migration process itself doesn’t have to be slow or cumbersome. With an enclosure, you can connect your old drive externally and perform the cloning process directly on your new computer. USB 3.0 or higher enclosures ensure decent transfer speeds, making the process relatively quick—often completed in under an hour, depending on the size of your data. - Cost-Effective Reuse of Old Hardware
Once you’ve successfully migrated your data, your old SATA3 M.2 SSD doesn’t have to gather dust. The same enclosure you used for migration can transform it into a portable external drive. Whether you need extra storage for backups, media files, or a bootable drive for another system, this gives your old SSD a second life. It’s a budget-friendly way to maximize the value of your existing hardware while enjoying the perks of your new NVMe v4 drive. - Reduced Risk of Errors
Manually copying files or reinstalling an OS can lead to human error—missed folders, corrupted installations, or forgotten drivers. Cloning via an enclosure minimizes these risks by automating the process. The software handles everything, ensuring your new NVMe v4 drive is an exact match of your old setup. Plus, since the old drive remains untouched during cloning, you have a fallback option if anything goes wrong. It’s a safety net that provides peace of mind.
How to Do It: A Quick Guide
Get the Right Enclosure: Purchase an M.2 enclosure that supports SATA3 PCIe M.2 2280 SSDs (check compatibility with your specific drive). Look for USB 3.0 or 3.1 for faster transfers we recommend the
Install Your Old SSD: Secure your SATA3 M.2 SSD in the enclosure and connect it to your new computer via USB.
Choose Cloning Software: Download and install a reliable cloning tool. Popular options include Acronis True Image (paid) or Clonezilla (free).
Clone the Drive: Launch the software, select your old SSD as the source and your NVMe v4 drive as the destination, then start the cloning process. Adjust partition sizes if needed, as NVMe drives often have larger capacities.
Verify and Boot: Once cloning is complete, shut down your computer, disconnect the enclosure, and boot from the NVMe drive to ensure everything works as expected.
Final Thoughts
Migrating from a SATA3 PCIe M.2 2280 SSD to a pre-installed NVMe v4 drive doesn’t have to be a hassle. By using an enclosure, you can transfer your data safely, quickly, and without cracking open your new machine. Not only does this method preserve your files and settings, but it also breathes new life into your old SSD as a portable drive. It’s a win-win that combines performance upgrades with practicality—so why not give it a try? Your new computer’s lightning-fast NVMe v4 drive is waiting to take your workflow to the next level, all while keeping your digital life intact.


